Configuring Windows 2000 SP4 for Secure Wireless 802.1x
::Print Friendly version::
To use your Windows 2000 computer on the Aeris wireless network, you must have Service Pack 4 installed. The first step will guide you to see if the computer has the minimum requirements.
If you are not running SP4, quit this procedure and update now by clicking Tools |Windows Update in Internet Explorer. Follow the update steps and then try again.
These instructions should work with any 802.1x compatible wireless card running Windows 2000 with Service Pack 4.
|
Check your computer to see if you have Service Pack 4. |
| |
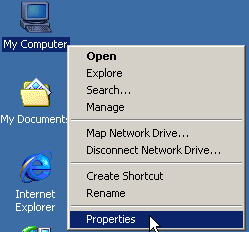
Right click on My Computer (on the desktop) and selecting Properties: |
|
| |
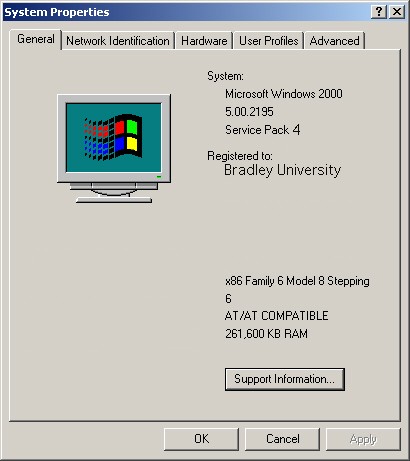
The System Properties will indicate which version you have. |
| |
|
Configure the Wireless Service |
| |
Go to the Control Panel and double click Administrative Tools.
Then Double-click Computer Management.
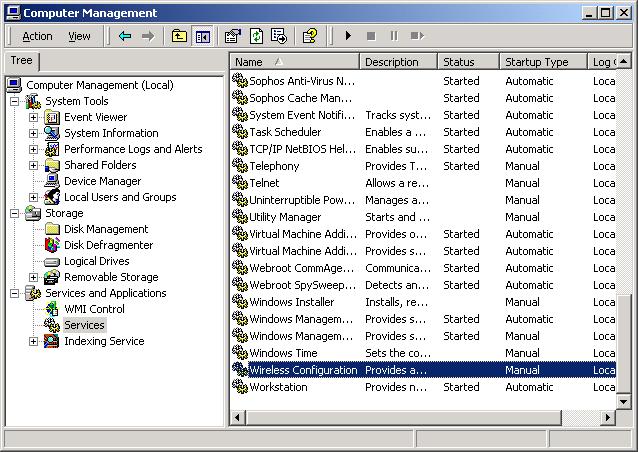
Expand the Services and Applications tree-menu on the left side, and select Services.
Double click the Wireless Configuration service. |
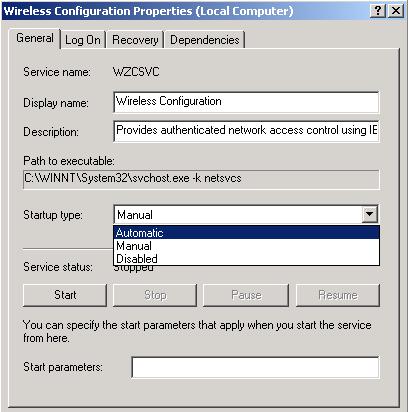
Wireless Configuration Properties |
| |
Change "Startup type" from Manual to Automatic.
|
| |
|
| |
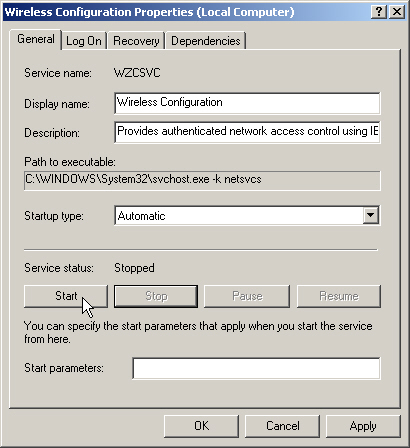
Start the service. Click the Start button:
|
| |
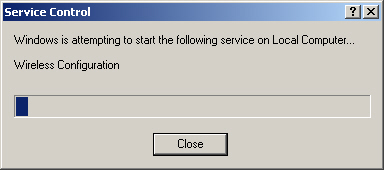
You will briefly see a window telling that the service is attempting to start:
Close the Computer Management application when finished.
|
Modifying the Wireless Adapter |
| |
Open Network and Dial-up Connections from the Control Panel.
Right-click your wireless adapter, and select Properties.
Click the Authentication tab.
|
Authentication |
| |
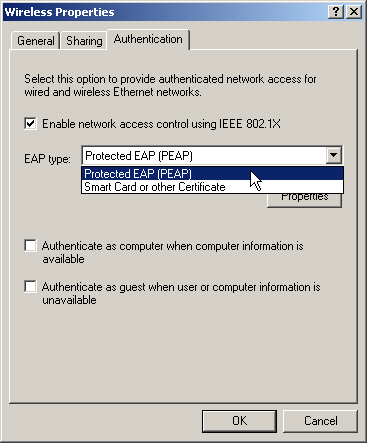
1. "Enable network access control using IEEE 802.1x" should be checked.
2. "EAP type" is Protected EAP (PEAP)
3. "Authenticate as computer when computer information is available" should NOT be checked.
4. "Authenticate as guest when user or computer information is unavailable" should NOT be checked.
5. Click the Properties button on the middle right hand side of window. |
| |
|
Protected EAP Properties |
| |
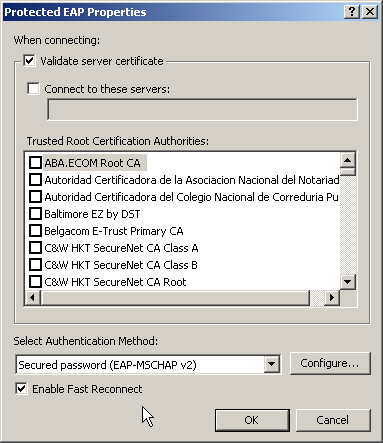
1. "Validate server certificate" should be checked.
2. In the "Select Authentication Method" drop down box, select Secured password EAP-MSCHAP v2).
3. Click the Configure button in lower right corner. |
| |
|
EAP MSCHAPv2 Properties - Click Configure |
| |
1. "Automatically use my Windows logon name and password (and domain if any)" should be checked.
2. Click ok to all the open windows, and close the Network Connections window and the Control Panel. |
| |

|
Configuring the Wireless Configuration Client |
| |
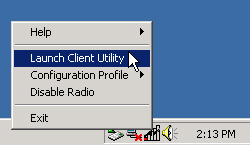
You will now need to make changes in the client configuration utility.
Right-click on the graph-looking icon in the System Tray and select Launch Client Utility:
Open up your Wireless configuration client
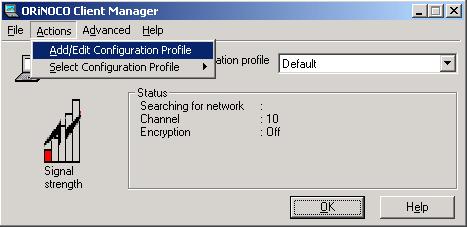
1. Add a new profile to your client.
|
New Profile
|
| |
Select Add/Edit Configuration Profile
|
| |
|
|
Network Name |
| |
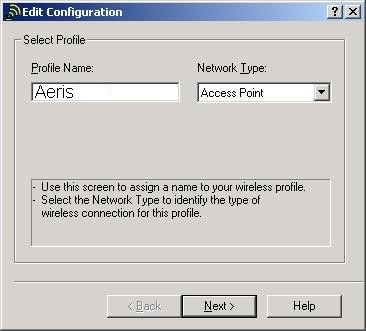
Enter Aeris in the Profile Name field, keeping in mind that the field is Case Sensitive.
Verify the Network Type is: Access Point
Click Next. |
| |
|
|
Set Security |
|
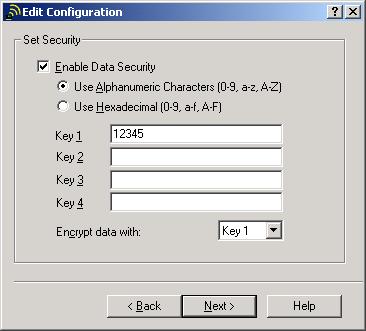
1. Select Enable Data Security (Your client may call this WEP encryption)
2. In Key 1, enter any key. In this example we used 12345. The actual text does not matter, as your computer and the Access Point will create new ones dynamically.
|
|
|
|
Finish the configuration wizard with all the default parameters
Click OK on all remaining open dialog boxes.
|
| |
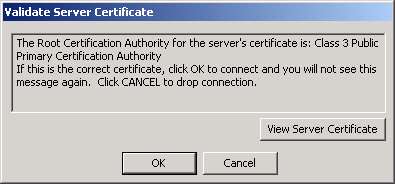
Now close out of all Windows and you should then be able to connect to the Aeris wireless network. You will get a window asking you to Validate Server Certificate. This should only come up once if you click OK:
|
| |
|
| |
From this point on, if you are on a domain machine you should be able to connect to the wireless network at boot up without having to any other authentication. If you are not on a domain machine, a dialog will pop up in the system tray asking you authenticate. You will just use your AD login and password, and including AD for the domain. |
|
|