Web Content
The Web Content tool allows site owners to choose external websites to display within their worksite.
Adding a Web Content Item
Follow these Steps if you do not find Web Content Item in your tool list.

Step 1: In the relevant course or project site, click [Site Info] .
Step 2: On the Site Info page, click [Edit Tools].
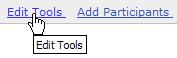
Step 3: Check the box next to Web Content. Click [Continue].

Step 4: You will also see fields where you can enter information for a new item, as follows:
• In the "Title:" field, add a title.
• In the "URL:" field, enter a URL after the "http://" that already appears in the field.
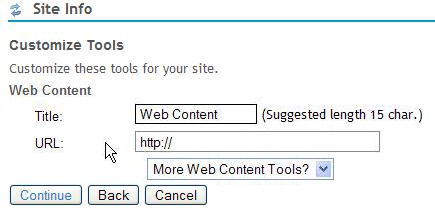
Step 5: Click [Continue] . You will see information about the changes you have made to your worksite.
Step 6: Click [Finish], or if you would like to make further changes, click [Back] .
Step 7: Click [Cancel] to cancel your changes.
Editing a Web Content item
To edit an existing Web Content item, follow these steps:
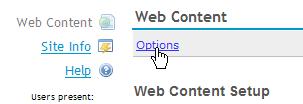
Step 1: In your site's menu bar, click the title of the appropriate Web Content item.
Step 2: Near the top of the Web Content frame, click [Options].
Step 3: On the "Customize Web Content" form, you can change the following:
• Tool Title: The title that appears in your site's menu bar
• Page Title: The title that appears at the top of the Web Content frame
• Frame Height: The height (in pixels) of the Web Content frame
• URL: The URL for the Web Content item.
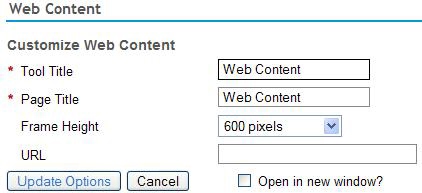
Step 4: To make your Web Content item open in a new browser window, click in the box next to [Open in a new window?] .
Step 5: When you're finished, click [Update] Options to save your changes, or [Cancel] to cancel your changes.
Deleting a Web Content item
Step 1: In the relevant course or project site, click [Site Info] .
Step 2: On the Site Info page, click [Edit Tools] .
Step 3: From the list of tools, uncheck the Web content item you wish to delete, and then click [Continue].
Step 4: On the "Customize Tools" screen, review your information, and then click [Finish] to delete the item.
